Have you ever wondered how to shorten a bike chain? Whether you’re a seasoned cyclist or a beginner, knowing how to adjust the length of your bike chain is a vital skill. It not only ensures a smooth and efficient ride but also helps prevent potential issues, such as chain slipping or poor bike performance.
In this comprehensive guide, we will take you through the step-by-step process of shortening a bike chain. By the end, you’ll have the knowledge and confidence to tackle this essential bike maintenance task on your own.
Before we dive into the details, let’s start with the basics. Why is shortening a bike chain important, and how does it affect your overall cycling experience?

Key Takeaways:
- Knowing how to shorten a bike chain is a crucial bike maintenance skill.
- Shortening your bike chain ensures proper tension and reduces the risk of chain slipping.
- A well-adjusted chain improves overall bike performance.
- By following the step-by-step guide in this article, you can confidently and efficiently shorten your bike chain.
- Stay tuned to discover the right tools needed for chain shortening in the next section.
Why Shortening a Bike Chain is Important
Before we dive into the process of adjusting the length of a bicycle chain, let’s understand why it is crucial to shorten a bike chain. Proper bike chain length adjustment is essential for several reasons:
1. Ensures Proper Tension
Shortening the chain helps to maintain the correct tension. When a chain is too loose, it can easily slip off the gears, affecting the bike’s performance and safety. Conversely, an overly tight chain can strain the drivetrain components, causing unnecessary wear and reducing efficiency. By adjusting the chain length, you can achieve the optimal tension for smooth and effective pedaling.
2. Reduces the Risk of Chain Slipping
A bike chain that is too long increases the likelihood of chain slipping. This occurs when the chain fails to engage properly with the gears, leading to unexpected shifts or even complete disengagement. Shortening the chain prevents excessive slack and ensures reliable engagement, reducing the risk of chain slipping during rides.
3. Improves Overall Bike Performance
Shortening a bike chain has a direct impact on the bike’s overall performance. By optimizing the chain length, you can improve power transfer from your legs to the drivetrain, resulting in a more efficient and responsive ride. The reduced chain slack also enhances shifting precision and accuracy, allowing for smoother gear changes during your cycling adventures.
Now that you understand the importance of shortening a bike chain, let’s move on to discovering the essential tools required for chain shortening in the next section.
Tools Needed for Chain Shortening
When it comes to shortening a bike chain, having the right tools is crucial for a smooth and successful process. In this section, we will discuss the essential tools you’ll need to shorten the chain on your bike.
1. Chain Tool
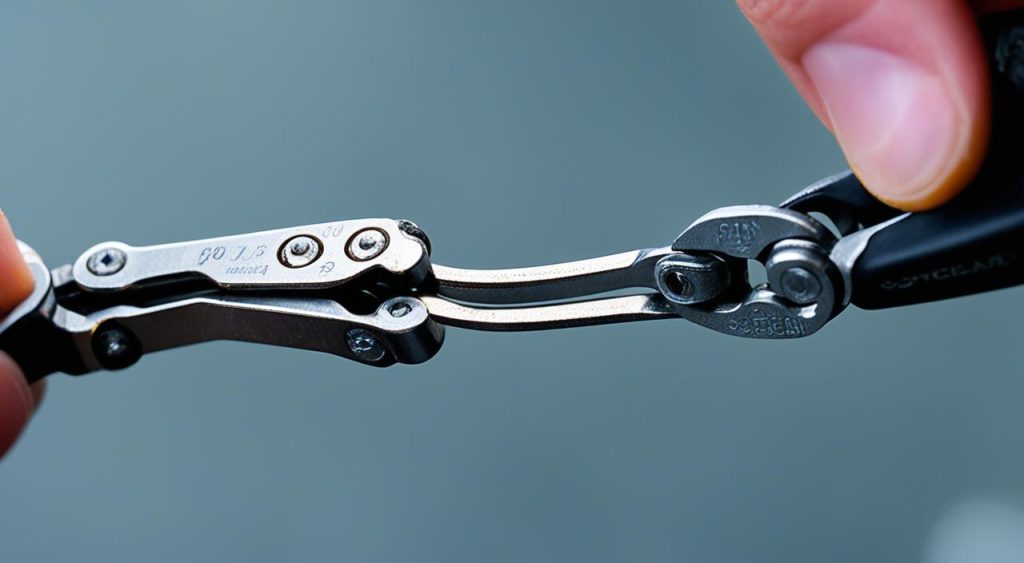
A chain tool is an indispensable tool for chain maintenance and shortening. This tool allows you to push out and reinstall chain pins, making it easy to remove the excess links and resize the chain to the desired length.
Make sure to choose a high-quality chain tool that is compatible with your specific type of bike chain. Investing in a reliable chain tool will ensure precision and prevent unnecessary damage to your chain.
2. Ruler or Tape Measure
In order to accurately determine the required chain length, you’ll need a ruler or tape measure. This tool will help you measure the chain and ensure that it aligns with the recommended length for your bike model.
When measuring the chain, make sure to take into account any derailleur compatibility requirements or specific chain length recommendations from the bike manufacturer. This will ensure optimal performance and prevent any issues with shifting or chain slippage.
3. Pliers
Pliers are handy for gripping and manipulating the chain during the chain shortening process. They can be used to hold the chain steady while you push out and reinstall the chain pins with the chain tool.
Choose a pair of pliers with a comfortable grip and a strong, sturdy construction. This will give you better control and prevent any accidental slipping or damage to the chain.
By having these essential tools on hand, you’ll be well-prepared to shorten the chain on your bike effectively and efficiently. Remember to follow the step-by-step guide in this article for a successful chain shortening process.
Preparing Your Bike for Chain Shortening
Before you start shortening the chain, it’s essential to prepare your bike properly. This step ensures a smooth and efficient chain shortening process. Here’s what you need to do:
Remove Excess Links
To resize your bike chain, start by removing the excess links. Using a chain tool, carefully push out the pins connecting the chain links until you’ve reached the desired length. DIY bike chain resizing requires patience and precision, so take your time to avoid damaging the chain or other components.
Remember to count the number of links you remove so you can calculate the appropriate chain length later.
Measure the Appropriate Chain Length
Once you’ve removed the excess links, it’s time to measure the appropriate chain length for your bike. Use a ruler or tape measure to determine the length required to fit your specific bike frame and drivetrain setup.
Take into account any derailleur compatibility requirements and ensure the chain will provide proper tension in all gear combinations. Bicycle chain link removal is just one part of the process; determining the right length is equally important for optimal bike performance.
Position the Bike for Easy Access
Before you begin shortening the chain, make sure your bike is in a suitable position for easy access. Ideally, place the bike in a bike stand or flip it upside down using a bike repair stand. This way, you’ll have better visibility and stability while working on the chain.
| Tools Needed | Image |
|---|---|
| Chain Tool | |
| Ruler or Tape Measure | |
| Pliers |
Ensure you have all the necessary tools within reach, including a chain tool, ruler or tape measure, and pliers. These tools will make the chain shortening process more efficient and ensure accurate measurements and adjustments.
By preparing your bike properly, you’ll set a solid foundation for successful chain shortening. Once you’ve completed these steps, you’ll be ready to move on to the next section, where we will guide you through removing the excess links from the chain.
Removing Excess Links from the Chain
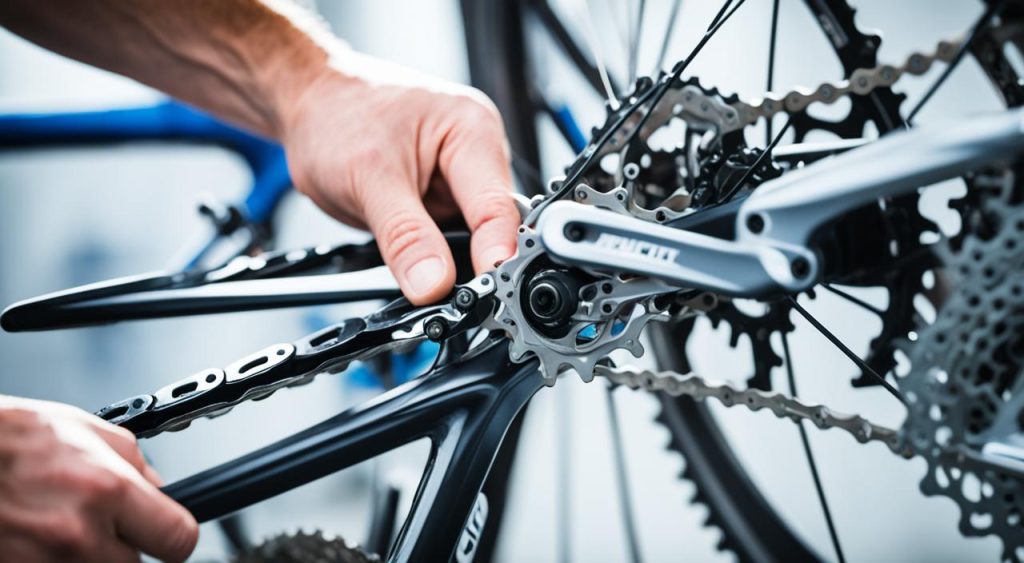
Shortening a bike chain is a process that involves removing the excess links to achieve the desired length. The length adjustment is crucial to ensure proper tension and smooth operation of your bike. In this section, we will guide you on how to use a chain tool to detach the extra links, guaranteeing a clean and precise cut.

Using a Chain Tool
To remove the excess links from the chain, you will need a chain tool. The chain tool is specially designed to push out the chain pins, allowing you to separate the links.
Follow these steps to remove the excess links:
- Position your bike in a stable manner, ensuring it won’t move while working on the chain.
- Identify the excess links that need to be removed. You can count the number of links needed or measure against a reference chain.
- Using the chain tool, align the tool pin with the chain pin you want to remove.
- Tighten the chain tool to push the pin out, separating the chain at the desired point.
- Once the pin is fully removed, gently separate the links to detach the excess portion of the chain.
- Check the newly shortened chain to ensure a clean and precise cut.
Pro Tip: It’s essential to keep the chain properly aligned while removing the excess links. This helps maintain the chain’s overall integrity and prevents unnecessary wear and tear.
By carefully following these steps and utilizing a chain tool, you can effectively adjust the length of your bike chain. With the excess links removed, you are one step closer to achieving optimal bike performance and a smoother ride.
Determining the Correct Chain Length
To ensure optimal bike performance, it’s essential to determine the correct chain length. By following these steps, you can accurately measure the chain, account for derailleur compatibility, and find the perfect fit.
Step 1: Measurement
Start by placing your bike on a stable surface and shifting the chain onto the smallest chainring and smallest rear cog. This combination provides the most tension on the chain.
Next, pull the chain tight, ensuring there are no slack spots. Measure the distance between the derailleur cages’ outer edges. This measurement represents the ideal chain length.
Step 2: Derailleur Compatibility
When determining the correct chain length, it’s crucial to consider your bike’s derailleur compatibility. If you have a short cage derailleur, you may need to remove additional links from the chain to prevent excessive slack.
On the other hand, if you have a long cage derailleur or a bike with a large front chainring and cassette combination, you may require a longer chain length to accommodate the increased distance between the gears.
Step 3: Adjusting the Chain
Once you have measured the chain length and considered derailleur compatibility, you can make necessary adjustments. Using a chain tool, carefully remove any excess links to achieve the desired chain length.
Note: It’s always better to have a slightly longer chain than one that is too short. If you’re unsure, it’s advisable to consult a professional bike mechanic.
Now that you have determined the correct chain length and adjusted it accordingly, your bike is ready for a smooth and efficient ride. Happy cycling!
Reconnecting the Chain
Now that you have successfully shortened your bike chain, the next step is to reconnect it. Follow the instructions below to ensure a secure and reliable connection.
Using a Quick-Link
If your bike chain is equipped with a quick-link, reattaching the chain is a breeze. Here’s how:
- Align the ends of the shortened chain, ensuring that the inner plates are fully engaged.
- Insert the quick-link into the ends of the chain, making sure it is properly seated.
- Use your fingers to squeeze the quick-link together until you hear an audible click or feel it snap into place.
- Gently tug both ends of the chain to confirm that the quick-link is securely fastened.
Using a Connecting Pin
If your chain does not have a quick-link, you will need to use a connecting pin to join the ends. Follow these steps:
- Line up the ends of the shortened chain, ensuring that the inner plates are aligned.
- Insert the connecting pin into the chain so that it passes through both sets of inner plates.
- Using a chain tool, push the connecting pin until it is flush with the outer plate on one side.
- Flip the chain over and repeat the process to ensure the connecting pin is fully inserted and secure.
Remember to check your manufacturer’s instructions to ensure you are using the correct method for your specific bike chain.
After reconnecting the chain, it is essential to perform a final check. Ensure the chain moves smoothly, without any binding or kinks. Test the shifting on your gears and observe how the chain flows through the derailleur pulleys. If any issues arise, double-check the connection and make any necessary adjustments.
With the chain successfully reconnected, you’re one step closer to completing the chain shortening process. The final sections of this guide will cover testing and adjusting the chain tension, as well as lubricating the chain for optimal performance.
Testing and Adjusting the Chain Tension
Once you have successfully shortened and reconnected your bike chain, you must ensure that the chain tension is properly adjusted. Incorrect chain tension can result in poor shifting, chain skipping, or even damage to your drivetrain components.
To check for proper chain tension, follow these steps:
- Shift your bike into the smallest front chainring and smallest rear cog.
- Position the chain on the top of the chainring and lightly press down on the chain with your finger.
- The chain should have a slight amount of vertical movement, approximately half an inch or 1-2 centimeters. This allows for smooth shifting and prevents excessive strain on the chain and chainrings.
- If the chain is too tight and does not have the desired amount of vertical movement, you will need to adjust the tension.
To adjust the chain tension, you can use the rear derailleur’s barrel adjuster:
- Locate the barrel adjuster near the rear derailleur or at the derailleur’s housing stop.
- Turn the barrel adjuster clockwise to tighten the chain or counterclockwise to loosen it. Make small adjustments, typically a quarter turn at a time, until you achieve the desired tension.
- After each adjustment, check the chain tension again by lightly pressing down on the chain to ensure it has the correct amount of vertical movement.
If the barrel adjuster does not provide enough adjustment range or if the chain tension is still not correct, you may need to add or remove chain links to achieve the proper tension. Refer to the earlier sections of this guide for instructions on removing or adding chain links.
Note: It’s crucial to find the right balance when adjusting the chain tension. If the chain is too loose, it may derail, causing issues with shifting and potential damage to the drivetrain. On the other hand, if the chain is too tight, it can put excessive stress on the components and lead to premature wear.
Example Chain Tension Adjustment Table
| Chain Tension | Actions |
|---|---|
| Chain too loose | Turn the barrel adjuster counterclockwise to increase tension |
| Chain too tight | Turn the barrel adjuster clockwise to decrease tension |
| Tension not correct | Add or remove chain links to achieve the proper tension |
Lubricating the Chain
Proper chain maintenance is essential for preserving the longevity and performance of your bike. One critical aspect of bike maintenance after chain shortening is chain lubrication. Lubricating the chain regularly helps reduce friction, minimize wear and tear, and ensure smooth and efficient pedaling.
When it comes to selecting the right lubricant for your bike chain, there are various options available in the market. It’s important to choose a lubricant specifically designed for bike chains to ensure optimal performance. Look for lubricants that are specifically formulated to penetrate the chain’s internals, providing long-lasting lubrication and protection.
Here are a few tips to consider when lubricating your shortened bike chain:
- Clean the chain: Before applying lubricant, make sure your chain is clean. Use a degreaser and a brush to remove any dirt, grit, or old lubricant from the chain. Cleaning the chain ensures that the lubricant can penetrate deeply and provide effective protection.
- Apply the lubricant: Apply a small amount of lubricant to each individual chain link. Rotate the pedals backward as you apply the lubricant, allowing it to evenly distribute throughout the chain’s length. Avoid applying excessive amounts of lubricant, as this can attract more dirt and debris.
- Let it sit: After applying the lubricant, let it sit for a few minutes to allow it to penetrate the chain’s internals. This allows the lubricant to displace any moisture and create a protective barrier on the chain’s surface.
- Wipe off excess: Once the lubricant has settled, use a clean rag or cloth to wipe off any excess lubricant from the chain’s outer surface. This step helps prevent the accumulation of dirt and debris, ensuring a clean and efficient chain.
Remember to lubricate your chain regularly, especially after cleaning or riding in wet conditions. Regular lubrication will help maintain smooth and quiet operation, extend the life of your chain, and enhance your overall biking experience.
Conclusion
Shortening a bike chain is an essential skill for any bike rider looking to optimize their cycling experience. By following the step-by-step guide provided in this article, you can confidently and efficiently adjust the length of your bike chain. This not only enhances the performance of your bike but also prevents potential issues such as chain slipping and unnecessary wear.
Proper chain maintenance plays a vital role in ensuring smooth and enjoyable rides. By shortening your bike chain and maintaining the correct tension, you can reduce unnecessary strain on your drivetrain and improve overall efficiency. Additionally, regular lubrication will help minimize friction, extending the lifespan of your chain and gears.
Remember to use the recommended tools and techniques discussed in this article to properly shorten your bike chain. With the right knowledge and approach, you’ll be able to achieve optimal chain length and tension, resulting in a smoother and more efficient ride. Happy cycling!
